Walkthrough editors
Block Out Levels 902-907: Six Expert Boards With Two and Three Tray Counters
Block Out Levels 902-907: six Expert boards with tray counters, board previews and video solutions for each level.
Related video walkthroughs
The library stops at Level 907 now. 902 through 907 went up as one batch, all six rated Expert, and every one of them has a video walkthrough on the site and on YouTube. The previous batch was 896-901, so this picks up exactly where that run ended.
This batch is unusually consistent in one way: almost every board is built around tray counters rather than a pure route puzzle. Two or three trays have to be filled in the right order, and the number on each tray tells you how many blocks it still needs. Get the order wrong and you can end up holding blocks that no tray will take.
Levels 902-907 at a glance
| Level | Difficulty | Walkthrough | Video |
|---|---|---|---|
| Level 902 | Expert | Open the guide | Watch |
| Level 903 | Expert | Open the guide | Watch |
| Level 904 | Expert | Open the guide | Watch |
| Level 905 | Expert | Open the guide | Watch |
| Level 906 | Expert | Open the guide | Watch |
| Level 907 | Expert | Open the guide | Watch |
The six newest boards
Each entry below has the board preview, a link to its own page and the video solution. Watch the video only as far as the first tray completing, then restart and replay that part yourself before watching the rest.
Level 902
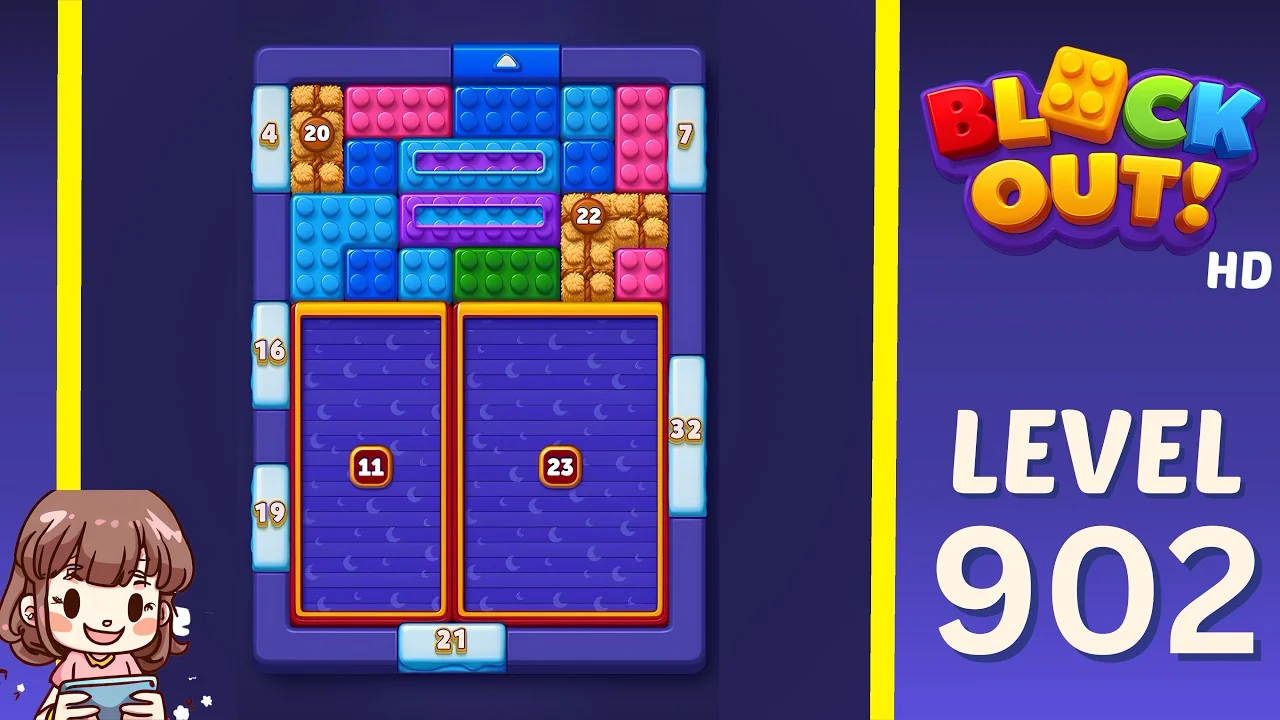
Open the Level 902 walkthrough or watch the video solution on YouTube.
Two large trays sit side by side at the bottom, one asking for 11 blocks and one for 23, with the loose blocks piled above them. The tray with the bigger count is the slower one, so feed it from the colours that are already grouped and keep the 11-tray for blocks you can pull out quickly. The side counters around the frame are the only real clock on this board.
Level 903
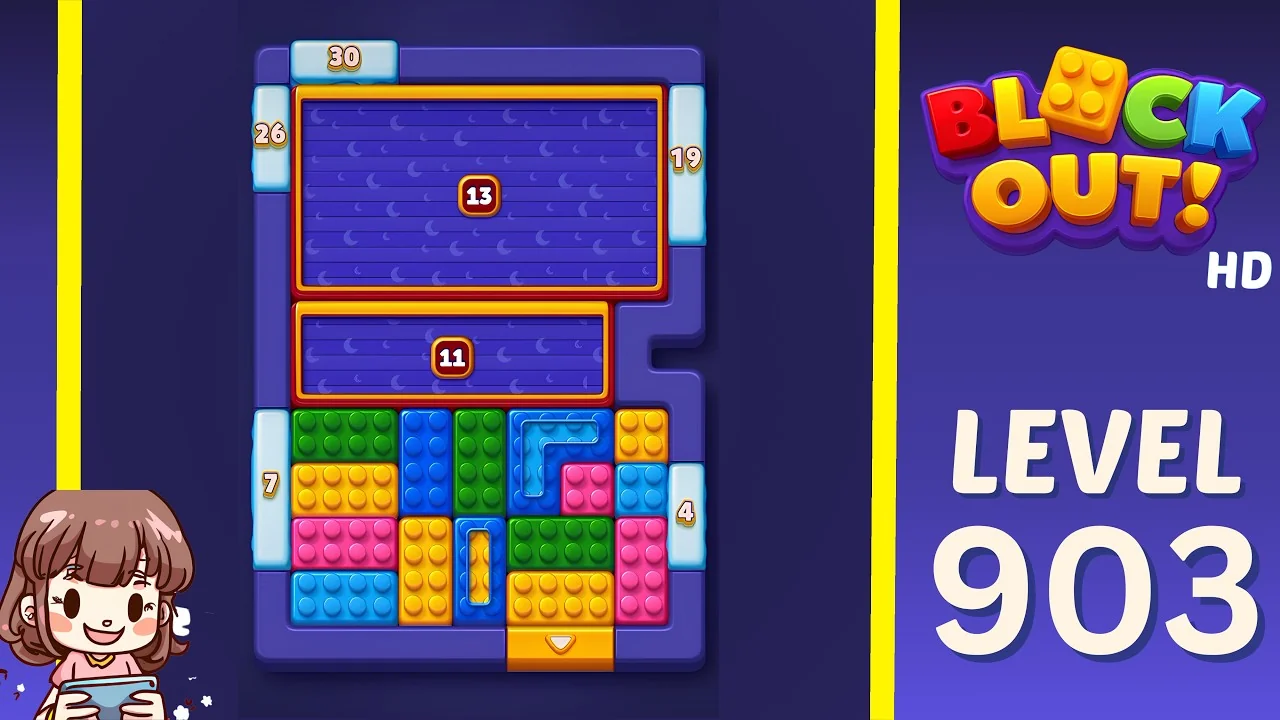
Open the Level 903 walkthrough or watch the video solution on YouTube.
Here the two trays stack vertically above the block area, 13 on top and 11 below, and the lower tray is the one that gets blocked first. Clear the route into the 11-tray before the 13-tray fills up, otherwise the drop from the upper tray has nowhere to land. The notch on the right side of the frame is the only space that saves a bad order.
Level 904
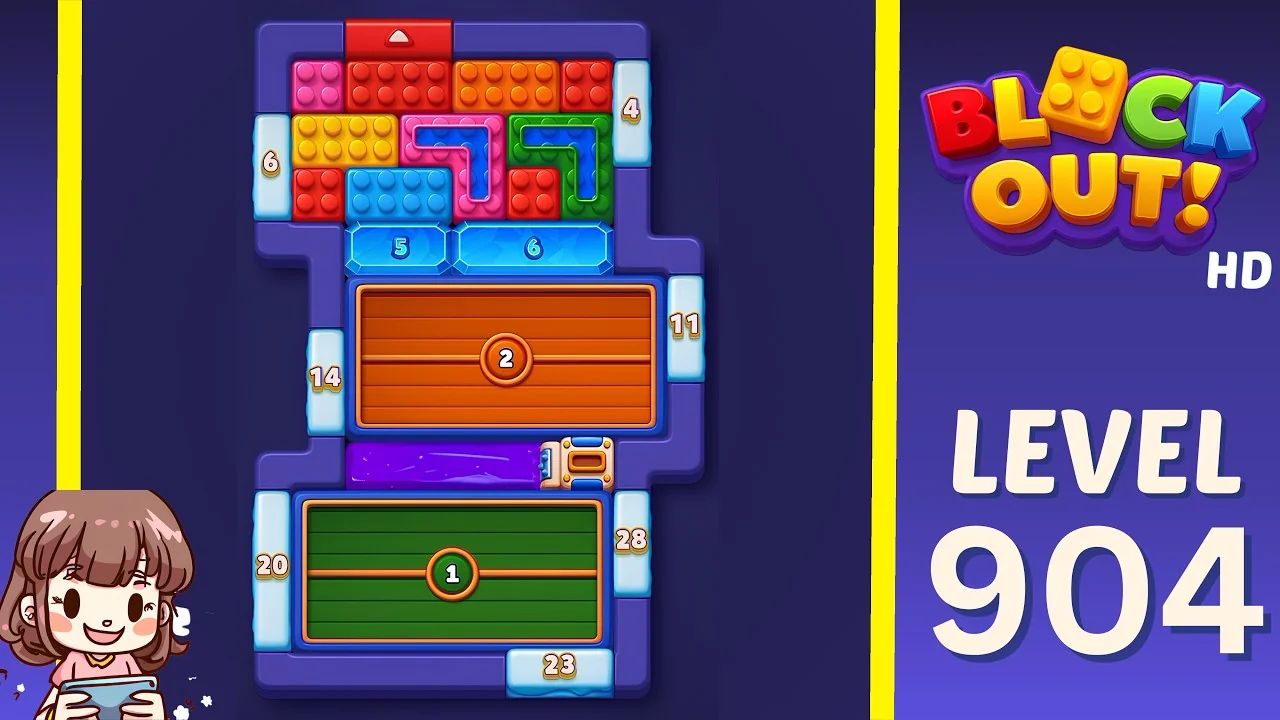
Open the Level 904 walkthrough or watch the video solution on YouTube.
Three trays in a column, 5, 6 and 2 from top to bottom, with a green 1-tray at the base and a small gate mechanism between the purple slider and the lower board. The two small trays are the trap: they fill instantly and then sit closed for the rest of the solve. Fill the 1-tray last and use the purple slider only after the middle trays are done.
Level 905
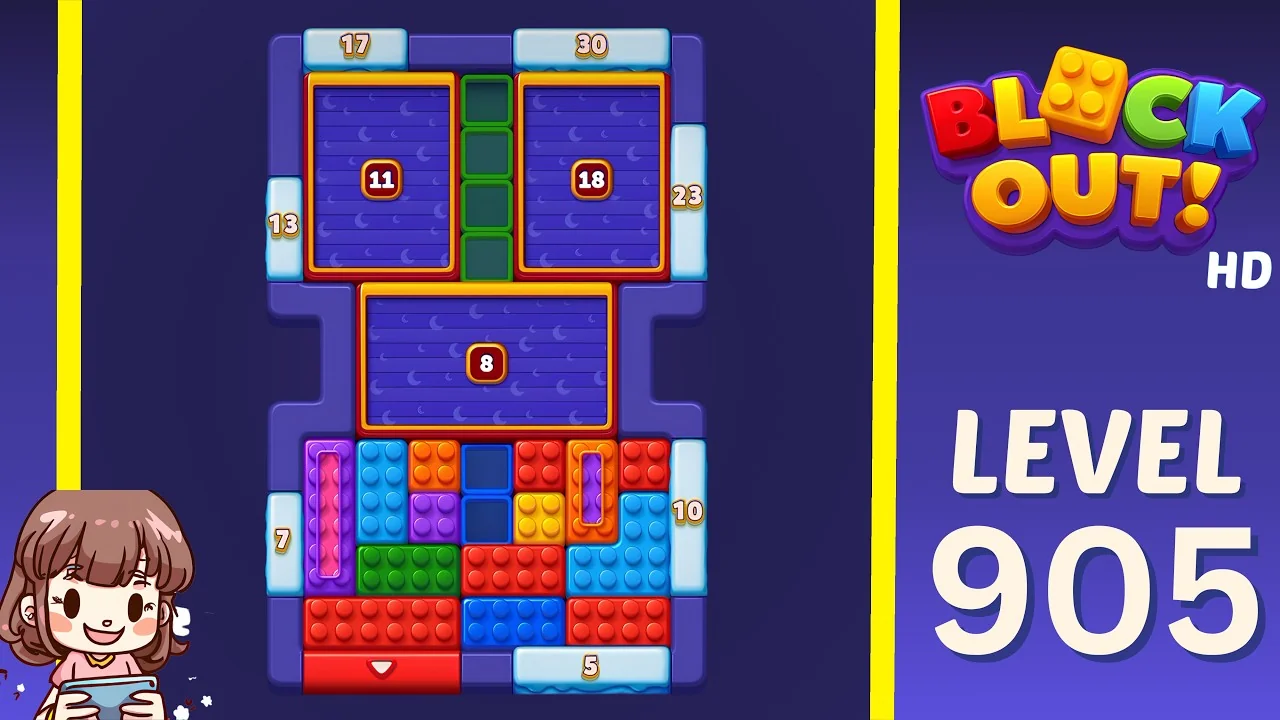
Open the Level 905 walkthrough or watch the video solution on YouTube.
Two trays at the top, 11 and 18, separated by a narrow green channel, plus an 8-tray in the middle. The channel is the whole puzzle: it is the only way blocks reach the upper trays, and it only accepts one width. Feed 11 first while the channel is open, then let 18 use the leftover lane. The counters at 13 and 23 sit exactly where you want your last loose blocks to go.
Level 906
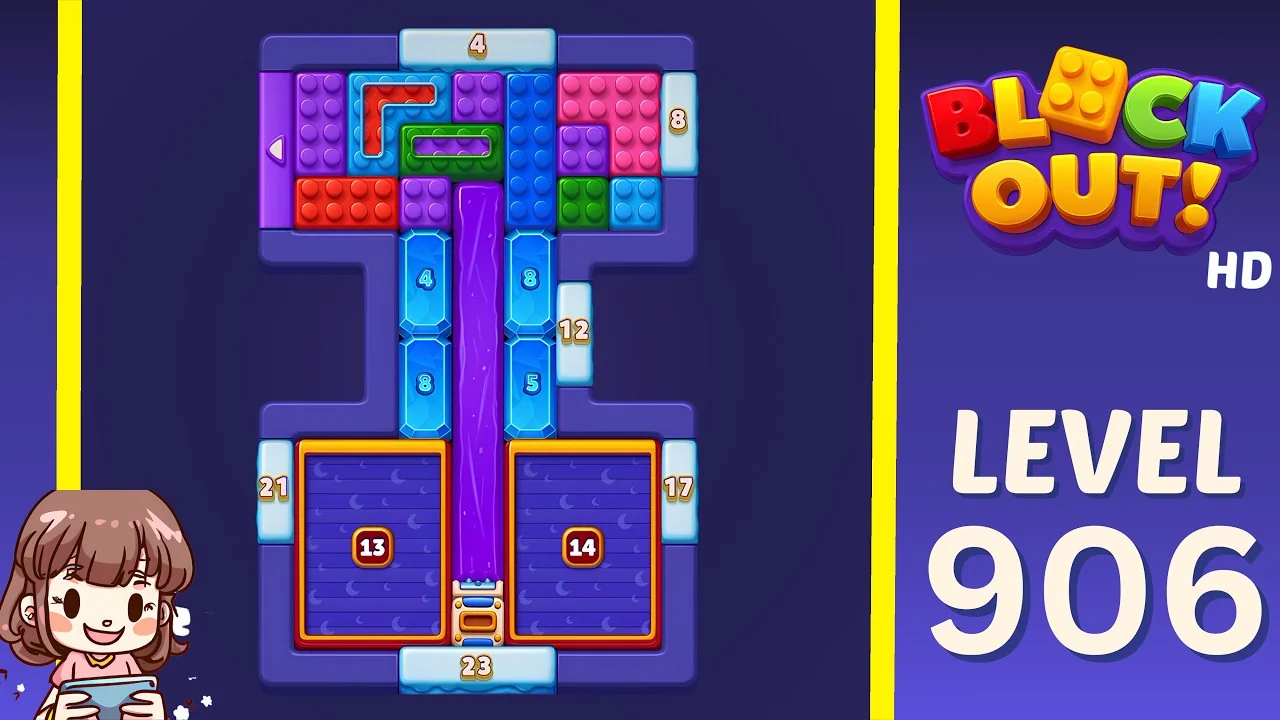
Open the Level 906 walkthrough or watch the video solution on YouTube.
A long purple slider runs down the spine of this board between two columns of small counters, 4, 8, 8 and 5, and it feeds the two bottom trays at 13 and 14 through a gate. The slider is the bottleneck, not the trays. Move it only when both columns have a block ready to travel, and never park a block in the middle section while it is displaced.
Level 907
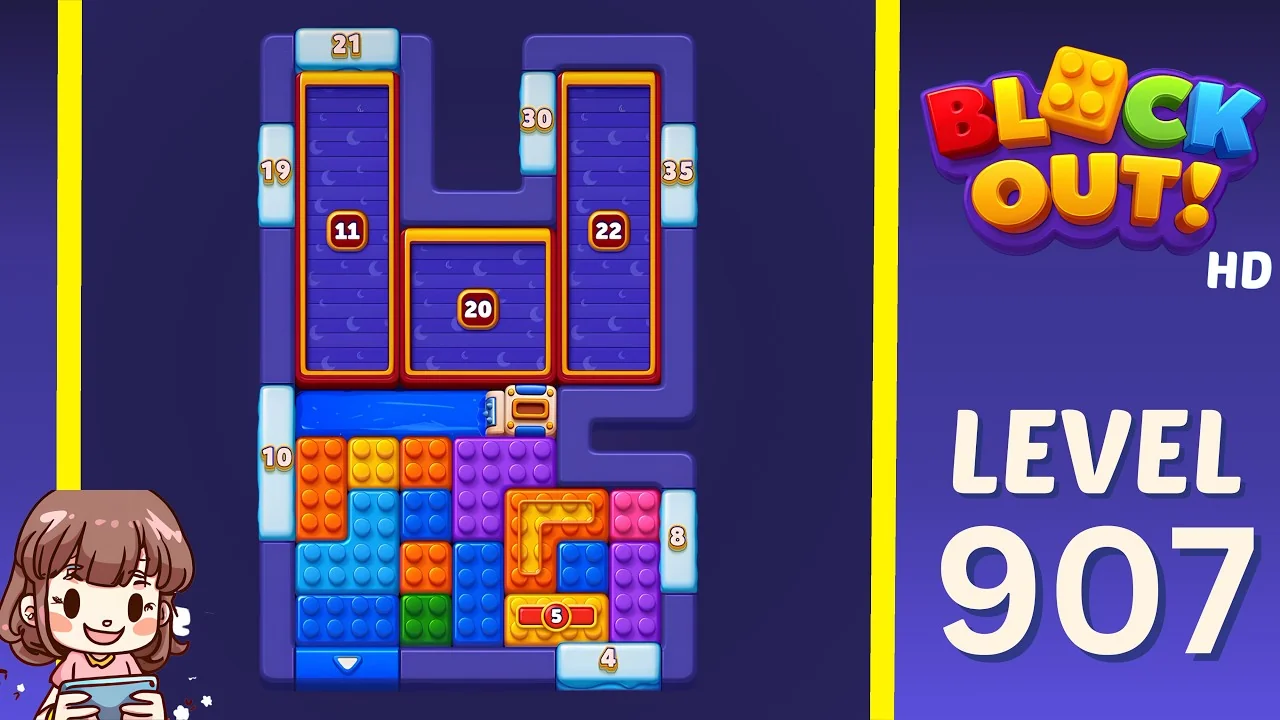
Open the Level 907 walkthrough or watch the video solution on YouTube.
The current end of the library, and the busiest of the six: three trays at the top, 11, 20 and 22, arranged around a U-shaped gap, with a gate and slider between them and the block area below. The 20-tray in the middle is reachable from two sides, which makes it the one to start; the outer trays only open once the middle route is clear. The 5 and 4 counters at the base are your last two moves, so leave blocks for them.
What to watch for on these boards
The video is a verified solve, not a script. The useful part is the shape of the board:
- Tray counts are deadlines. A tray that finishes early closes a route you still need.
- Feed the slow tray first. The one with the biggest number takes the longest, so start it before the small ones.
- Small trays go last. A 1 or 2 closes in a single move and gives nothing back.
- One-width channels decide order. If only one block fits, the sequence is the puzzle.
- Restart without guilt. If no block has a tray that will take it, one more nudge will not make one.
How to use the walkthroughs
Every level from 902 to 907 has its own page with the board preview, difficulty rating and embedded video. A method that holds up on Expert boards:
- Watch only up to the first tray completing.
- Restart and replay that opening yourself.
- Keep going alone until you stall.
- Rewatch from the point your route went wrong, not from the start.
Browse all Block Out levels for the full library, or go back to the 896-901 log if you are still working through the previous batch.